Keeping your air conditioner running efficiently is essential for comfort and energy savings, especially during hot months. While changing filters regularly is important, many homeowners overlook the evaporator coils, a critical component that absorbs heat from your home’s air. Over time, dust, dirt, and mold can accumulate on the coils, reducing airflow, decreasing cooling efficiency, and forcing your AC to work harder. Learning how to clean AC evaporator coils properly can save money, improve indoor air quality, and prolong the lifespan of your system.
Why Cleaning AC Evaporator Coils is Important
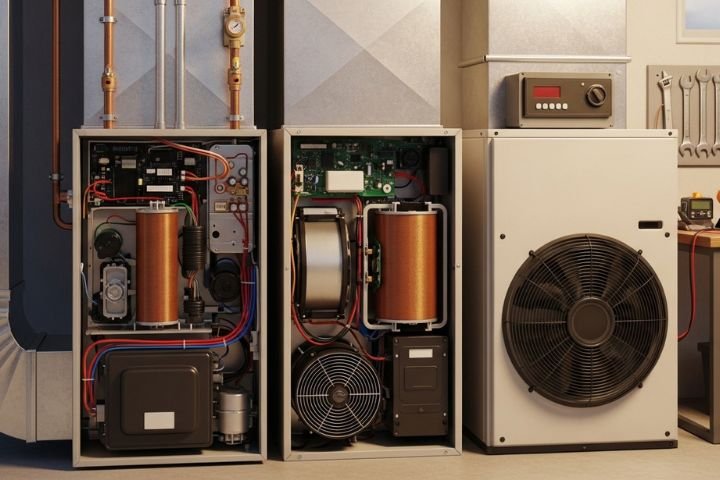
The evaporator coils are located inside your AC unit and play a central role in cooling your home. When they become dirty, your system’s efficiency drops, leading to higher energy bills and inconsistent cooling. Dirty coils can also contribute to poor indoor air quality by allowing dust, pollen, and bacteria to circulate through your home. Regular cleaning ensures your AC runs smoothly, keeps your energy bills low, and prevents unnecessary repairs.
Tools and Materials Needed
Before you start, gather all the necessary tools. You will need a soft brush or coil cleaning brush, a non-acidic foaming coil cleaner, a spray bottle with water, a screwdriver to open the access panel, and protective gloves and goggles. Safety is critical because the coils are connected to refrigerant lines, and improper handling can cause damage or even injury. Always turn off the power before attempting any cleaning.
How To Clean AC Evaporator Coils: Step-By-Step
Step 1: Turn Off Your AC Unit
Safety should always be your first priority. Turn off your AC and disconnect it from the power source. This prevents electrical hazards while you work inside the unit.
Step 2: Access the Evaporator Coils
Open the access panel of your indoor AC unit to reach the coils. Some units require a screwdriver to remove the cover. Once open, take a moment to inspect the coils for visible dust and debris.
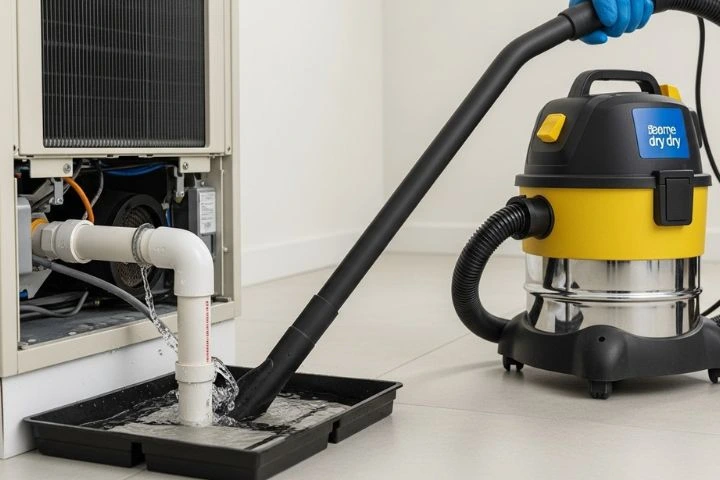
Step 3: Remove Loose Dust and Debris
Using a soft brush or vacuum, gently remove loose dirt from the coils. Be careful with the delicate fins, as bending them can affect airflow and reduce efficiency. Removing the loose dirt prepares the coils for deeper cleaning with a coil cleaner.
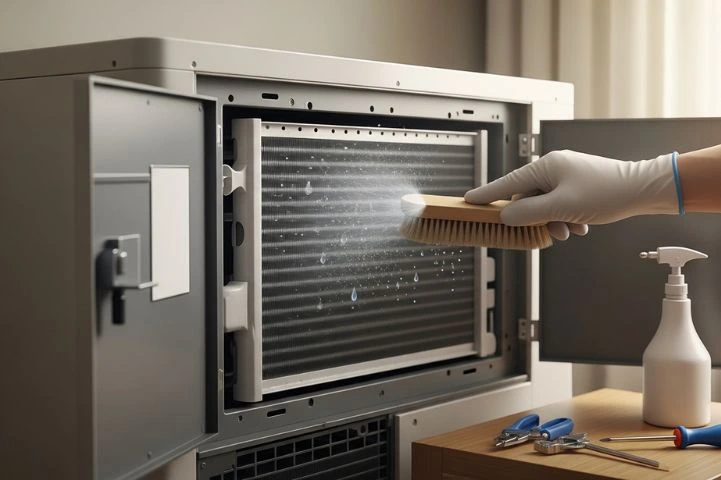
Step 4: Apply Coil Cleaner
Spray a generous amount of foaming coil cleaner over the coils, ensuring complete coverage. Let the cleaner sit for five to ten minutes to loosen stubborn dirt and grease. This step is crucial to thoroughly clean coils inside AC units without causing damage.
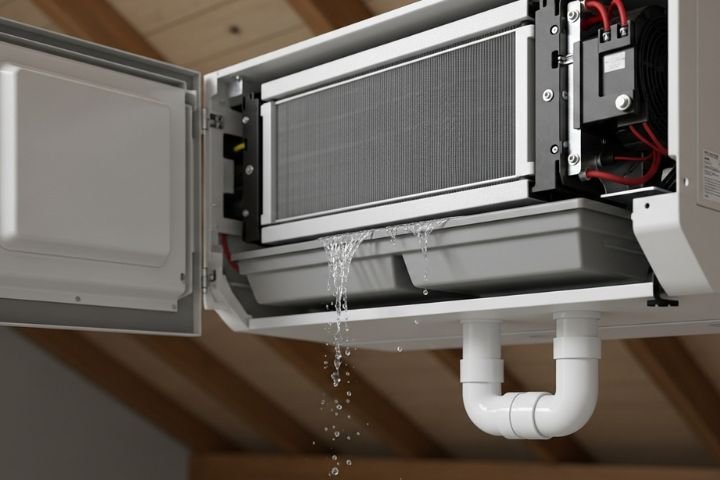
Step 5: Rinse the Coils
Rinse the coils with water from a spray bottle or a gentle flow, being careful to avoid electrical components. Proper rinsing removes the loosened dirt and cleaner residues. Allow the coils to dry completely before reassembling the unit.
Step 6: Reassemble and Test
Once dry, put the access panel back in place and restore power. Turn on the AC to ensure it’s running smoothly. You should notice improved airflow and cooling efficiency immediately. Regular cleaning of evaporator coils helps maintain optimal performance and improves indoor air quality.
How Often Should You Clean AC Coils?
The frequency of cleaning depends on your environment and usage. For most residential units, cleaning once every one to two years is sufficient. Homes in dusty areas or with pets may require more frequent cleaning. Signs your AC coils need attention include reduced cooling efficiency, ice formation on the coils, unusual noises, or increased energy bills. Staying proactive with cleaning prevents costly repairs and ensures your system operates efficiently.
Cost of Cleaning AC Coils
If you choose to clean the coils yourself, the cost is minimal, usually between $0 and $20 for cleaning supplies. Professional cleaning services typically charge $100 to $250, depending on the unit size and complexity. While professional services guarantee thorough cleaning, DIY methods are effective if done correctly. Regardless of the method, keeping your AC coils clean is a smart investment in energy efficiency and system longevity.
Cleaning Coils in Different AC Units
Central AC Units
Indoor evaporator coils in central AC units require access through the unit’s panel. Follow the steps outlined above for cleaning, ensuring careful handling of all components.
Window AC Units
Window AC units are slightly easier to manage. Remove the unit from the window and take off the front cover. Clean the indoor coils using a soft brush and coil cleaner. Rinse carefully and allow the coils to dry before reinstalling the unit. This method works effectively for cleaning window AC coils and maintaining airflow.
Tips for Maintaining Clean AC Coils
Maintaining clean AC coils goes beyond periodic cleaning. Regularly replacing your AC filters reduces the amount of dust that reaches the coils. Keep vents and ducts clean to prevent dirt buildup. Scheduling professional maintenance annually ensures all components, including the coils, are in optimal condition. Avoid spraying water directly on electrical components and handle fins gently to prevent damage. By incorporating these practices, your AC unit will remain efficient and reliable.
Conclusion
Cleaning your AC evaporator coils is a simple yet essential part of home maintenance. By following a careful, step-by-step approach, you can remove dust and debris, improve cooling efficiency, save energy, and enhance indoor air quality. Whether you choose to clean your coils yourself or hire a professional, the benefits of clean AC coils are undeniable. Regular cleaning, combined with proper maintenance like filter replacement and duct cleaning, ensures your AC unit performs at its best year-round. Learning how to clean AC evaporator coils is not only a cost-saving measure but also a way to maintain a healthier and more comfortable home.